이전에 작성한 코드 중에서 handleh1Click 함수만 남겨놓자.
우리가 하고 싶은 것은 h1을 클릭했을 때 blue로 바뀌는 것에서, 다시 한 번 더 클릭하면 tomato로, 또 클릭하면 blue로 만들고 싶다.
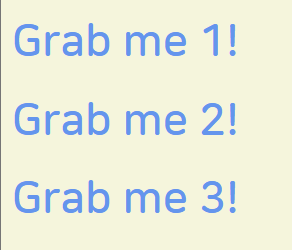
blue->tomato->blue->tomato->blue->...
어떻게 해야할까?
h1의 color가 blue라면 tomato로 바꾸고, blue가 아니라면 blue로 바꿔주면 된다.
전에 배웠던 if를 사용해서 만들 수 있다.
const h1 = document.querySelector('div.hello:first-child h1');

function handleh1Click() {
    if (h1.style.color === 'blue') {
        h1.style.color = 'tomato';
    } else {
        h1.style.color = 'blue';
    }
}

h1.addEventListener('click', handleh1Click);
코드를 보기 좋게 수정해보자.
매번 h1.style.color를 쓰지 말고, currentColor라는 변수에 현재의 색을 받아오자.
그 색에 따라서 newColor를 설정해주고
설정한 newColor를 실제로 h1에 적용하자!
const h1 = document.querySelector('div.hello:first-child h1');

function handleh1Click() {
    const currentColor = h1.style.color;
    let newColor;
    if (currentColor === 'blue') {
        newColor = 'tomato';
    } else {
        newColor = 'blue';
    }
    h1.style.color = newColor;
}

h1.addEventListener('click', handleh1Click);
이걸 css 파일에 넣어보자. 스타일을 변경하는 것까지 자바스크립트에 포함하진 말자.
<css>
<자바스크립트>
h1에 clicked 클래스를 추가해준다.
const first_h1 = document.querySelector('div.hello:first-child h1');
function handleh1Click() {
first_h1.className = 'clicked';
}
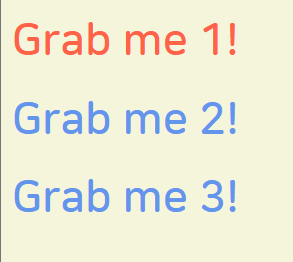
first_h1.addEventListener('click', handleh1Click);클릭하면 tomato 색으로 바뀐다.
이제 blue->tomato->blue->tomato->blue->...를 적용해보자.
const first_h1 = document.querySelector('div.hello:first-child h1');

function handleh1Click() {
    if (first_h1.className === 'active') {
        first_h1.className = ''; //empty
    } else {
        first_h1.className = 'active';
    }
}

first_h1.addEventListener('click', handleh1Click);
여기에 css에 다음과 같은 기능을 추가하면
천천히 색이 바뀐다. transition: color 0.5s ease-in-out
코드를 좋게 수정하자
1. 'clicked'처럼 raw string을 사용하는 것은 오류 가능성이 커지기 때문에 지양하자.
한 번만 가져와서 const 변수 clickedClass에 저장해서 사용하자.
const first_h1 = document.querySelector('div.hello:first-child h1');

function handleh1Click() {
    const clickedClass = 'clicked';
    if (first_h1.className === clickedClass) {
        first_h1.className = ''; //empty
    } else {
        first_h1.className = clickedClass;
    }
}

first_h1.addEventListener('click', handleh1Click);
2. className을 통째로 바꾸지 말자. 만약에 first_h1이 처음에 어떤 클래스를 가지고 있었더라면, 그 클래스도 사라지게 되기 대문이다.
className: 클래스를 통째로 바꾼다.
이거 대신에 classList 사용!
classList에는 contain, remove, add 함수가 있다.
const first_h1 = document.querySelector('div.hello:first-child h1');
function handleh1Click() {
const clickedClass = 'clicked';
if (first_h1.classList.contains(clickedClass)) {
first_h1.classList.remove(clickedClass);
} else {
first_h1.classList.add(clickedClass);
}
}
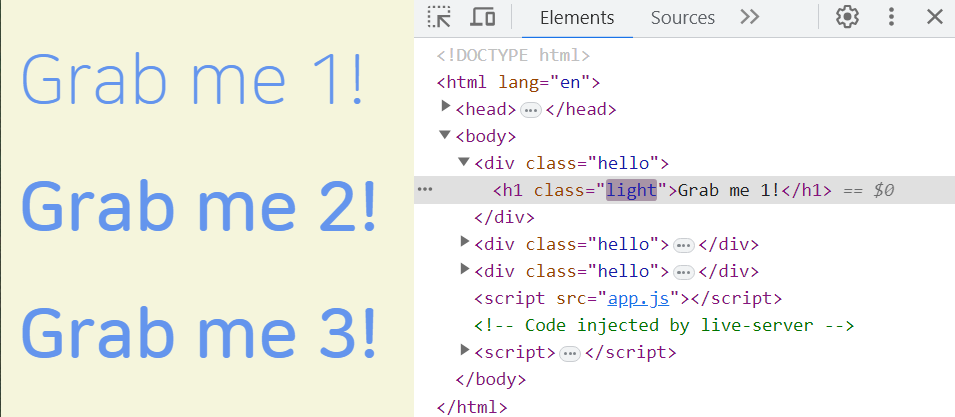
first_h1.addEventListener('click', handleh1Click);이렇게 첫번째 h1가 light 클래스를 포함하고 있을 때
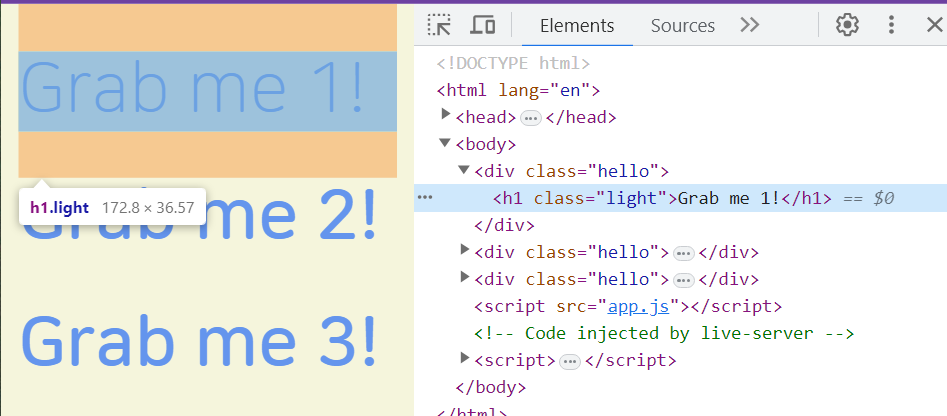
해당 요소를 마우스로 클릭하면
다음 그림처럼 clicked 클래스가 추가된다.
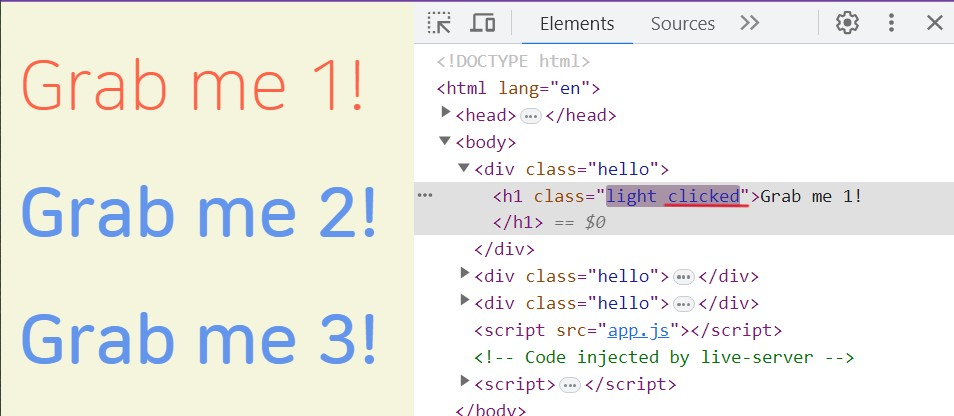
마우스로 다시 한 번 더 클릭하면
clicked 클래스만 삭제된다.
이렇게 우리가 방금 한 클래스를 추가하고 삭제하는 일들은 굉장히 흔하게 쓰인다.
따라서 이걸 해주는 별도의 함수가 존재한다!
toggle : 해당 클래스가 있다면 삭제하고, 없다면 추가한다.
'clicked'를 한 번만 사용하니까 변수도 없애주자.
const first_h1 = document.querySelector('div.hello:first-child h1');

function handleh1Click() {
    first_h1.classList.toggle('clicked');
}

first_h1.addEventListener('click', handleh1Click);
와우! 코드가 간단해졌다
'html + css + javascript' 카테고리의 다른 글
| [바닐라 JS로 크롬 앱 만들기] link, preventDefault (1) | 2023.06.24 |
|---|---|
| [바닐라 JS로 크롬 앱 만들기] Input Values, forms (0) | 2023.06.24 |
| [바닐라 JS로 크롬 앱 만들기] events (0) | 2023.06.20 |
| [바닐라 JS로 크롬 앱 만들기] document, 요소 가져오기 (0) | 2023.06.20 |
| [바닐라 JS로 크롬 앱 만들기] conditionals 조건문 (0) | 2023.06.20 |